Tuning: Troubleshoot AEM Wideband Gauge-Sensor Combo
Purpose: This little tutorial will not only show you how to quickly test both your AEM Wideband gauge but also the sensor. Once you determine which one is faulty obviously you can replace it accordingly, however I have also included a cheaper alternative to replacing the sensor instead of paying for the semi pricey AEM sensor!
Problem: My gauge is stuck at ~14.7 and doesn't move whether WOT or cruise, what's the deal?!
Answer: The gauge being stuck at ~14.7 signifies typically that the signal is not being transmitted properly.
This could be 1 of 3 things:
- The wires are disconnected/broken between the sensor and the gauge.
- The gauge has gone belly up.
- The sensor is finally toast.
Solutions:
- You should know how to check this yourself fairly easily so I won't elaborate.
- Disconnect the 6 wire plug from the back of your gauge, and measure the voltage on the white wire and check to insure it is near ~2.40 volts. If it isn't picking up anything at all make sure the connection is good and if so then your gauge is done for.
- The quick way to test your sensor is to turn the key to the on position, the gauge will quickly go through it's various output readings then go to ~14.7. As the sensor heats up if it's in functioning order it will slowly begin to start reading more and more lean until you end up with '---' as your final reading. This shows the sensor is functioning correctly.
This is your standard O2 sensor for the AEM (http://www.summitracing.com/parts/AVM-30-2001/?rtype=10) AEM Power 30-2001 - AEM Power Replacement Wideband O2 Sensors - Overview - SummitRacing.com[/url] sitting at $80 + shipping.
You can purchase a 17014 Bosche O2 sensor from your local autoparts store for a whopping ~$50.
Here's the How-to on making it work with your AEM gauge!
The parts: You will need your old o2 sensors and your new one.
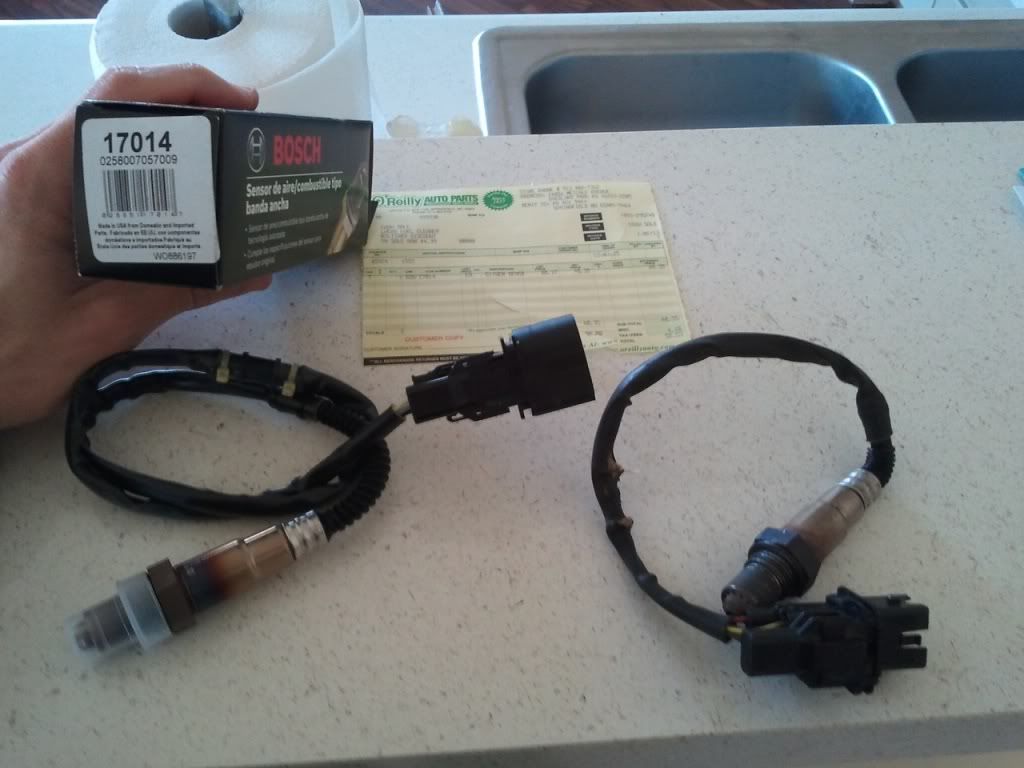
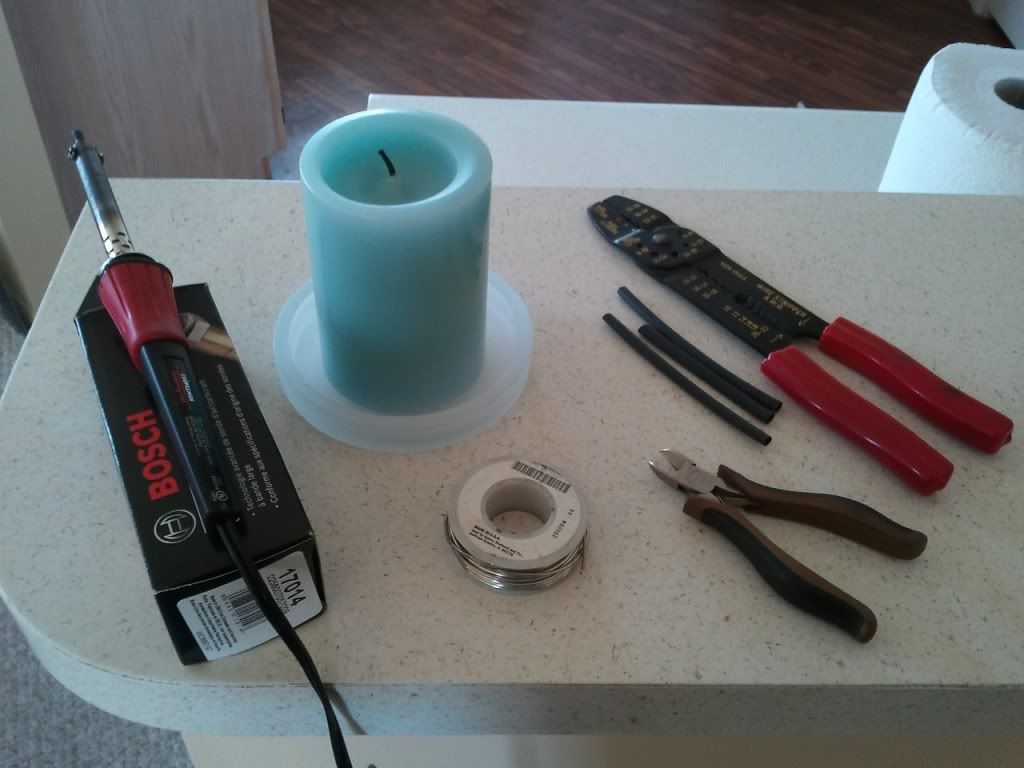
The tools:
- dikes
- soldering gun
- solder
- heat shrink tubing
- a lighter
- wire strippers
- 1 great smelling candle for that fine feminine touch!
Begin by taking the AEM o2 sensor and pulling the protective sheath away from the connector roughly 4-6 inches and cut the wires. Proceed to strip the ends and prepare them to be soldered as well as put your heat shrink tubing on now so you don't forget to later.
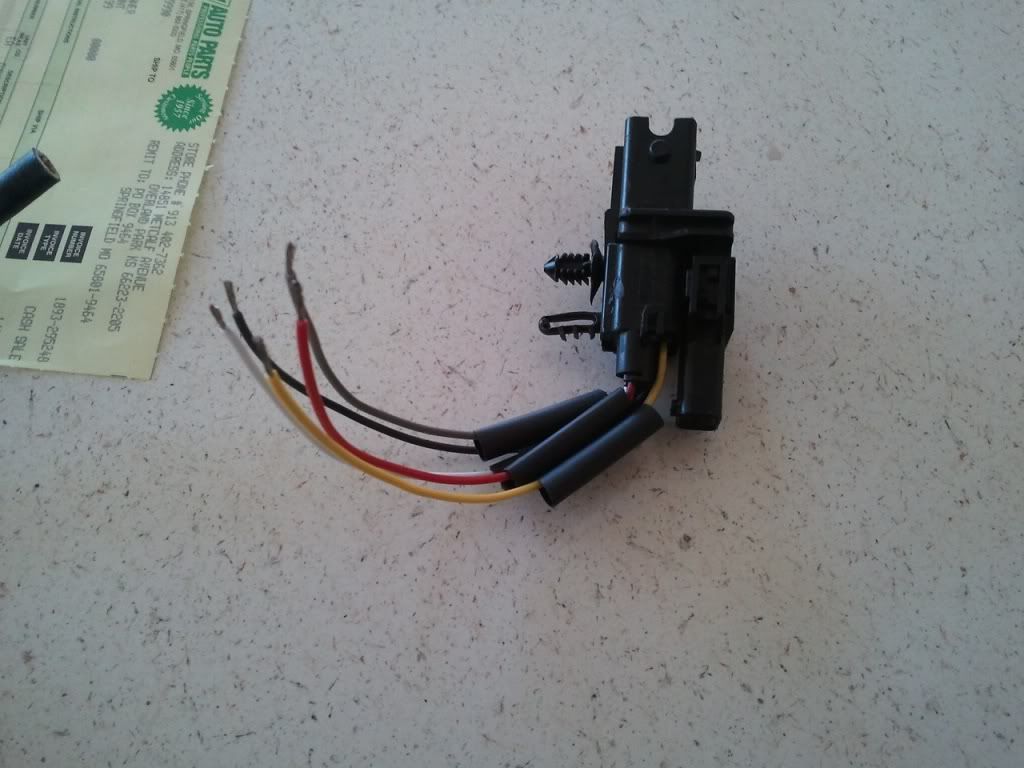
If you look at the first picture you can tell the replacement o2 sensor has a lot of excess wiring so I cut the zip tie in the middle and got rid of the second half of the length to bring it close to the same amount length as the AEM unit. Obviously we want the bulk of the length on the o2 sensor portion here and I pulled back the sheath far enough that I made my cut and the sheath would cover up all of the wiring from the AEM connector as well. Use a small binder clip to hold the wires back while you prep them.
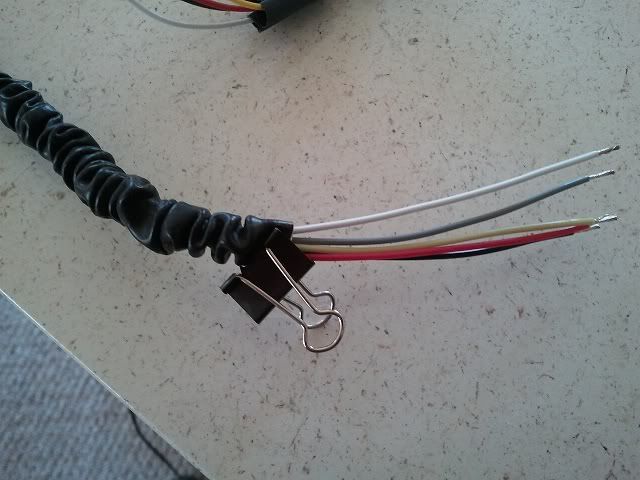
Solder everything together and put your shrink wrap over the connections.
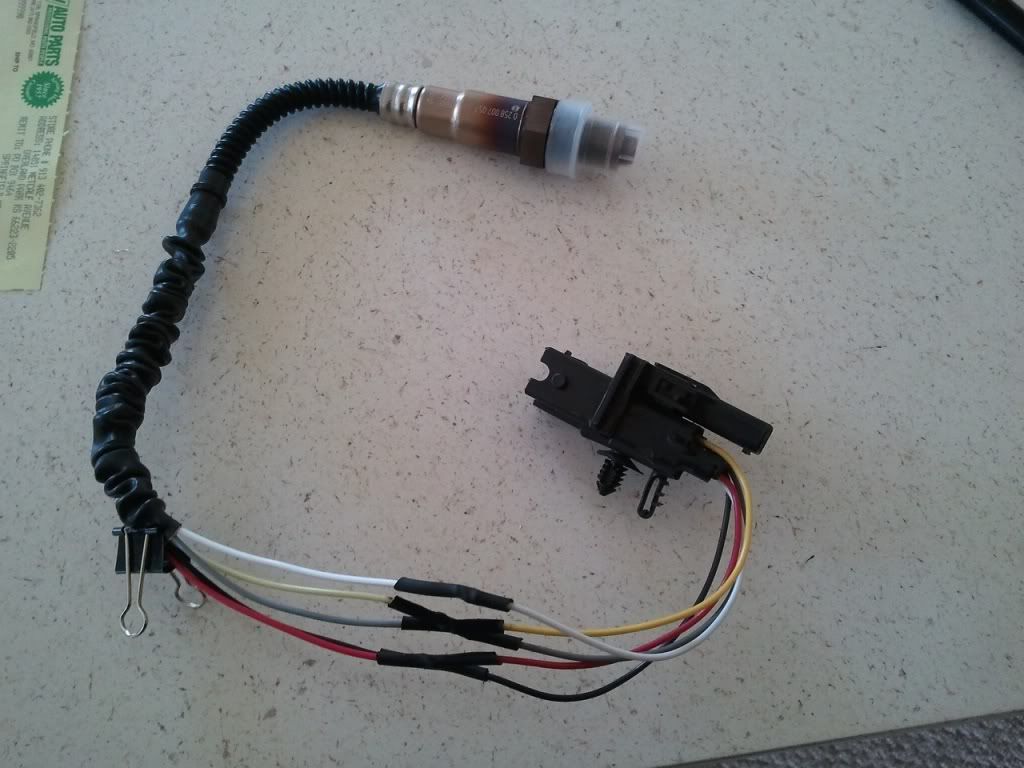
Zip tie the sheath to the end closest to the AEM connector to keep it from sliding around on you and you are all done!
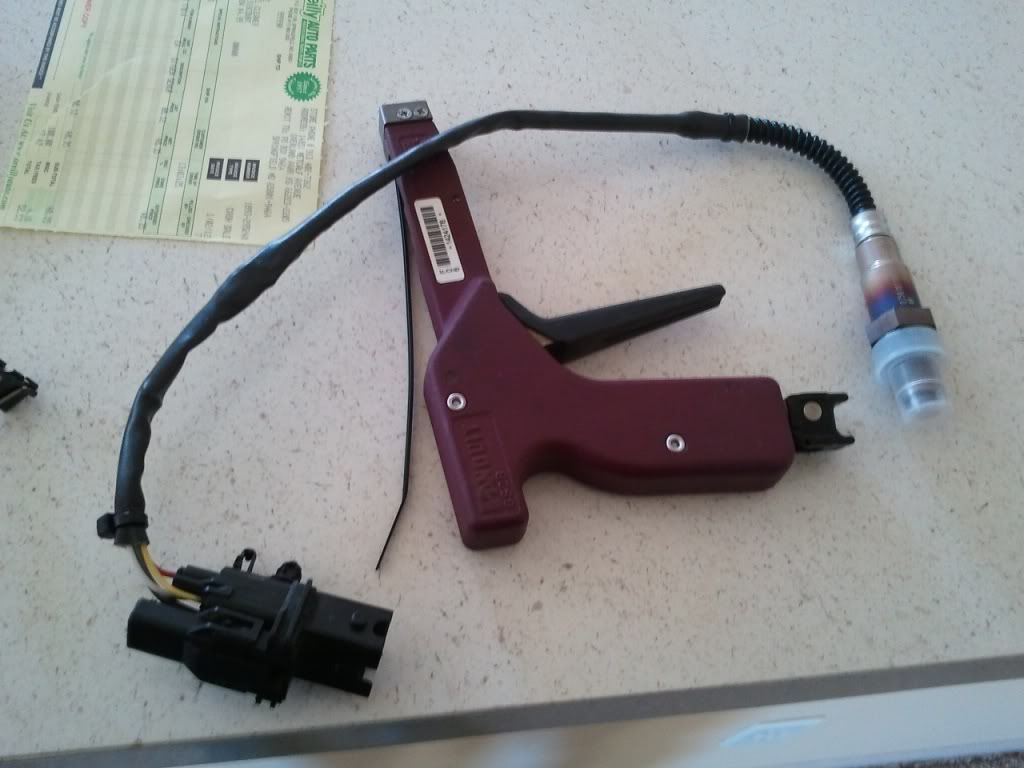
Install and test it out with the procedure listed above!
Happy tuning!
Sean