Electrical: Add a New Fusible Circuit
Warning: use this guide at your own risk. You should have some basic idea of how our 12v dc electrical system works.
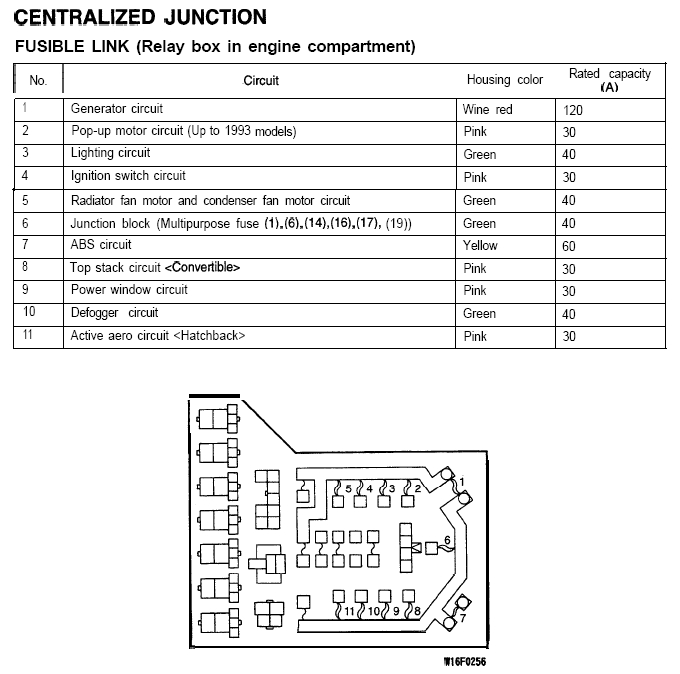
Ever noticed those extra locations in the main fuse panel? Do you want to add a new circuit for an aftermarket accessory but don't want to just tap into the battery terminal? Are worried about crappy melting fuse holders? This is for you. Basically what you are doing is adding a new stock main fused power circuit. Here is the layout of the stock centralized junction block. Some models will have more open circuits than others.
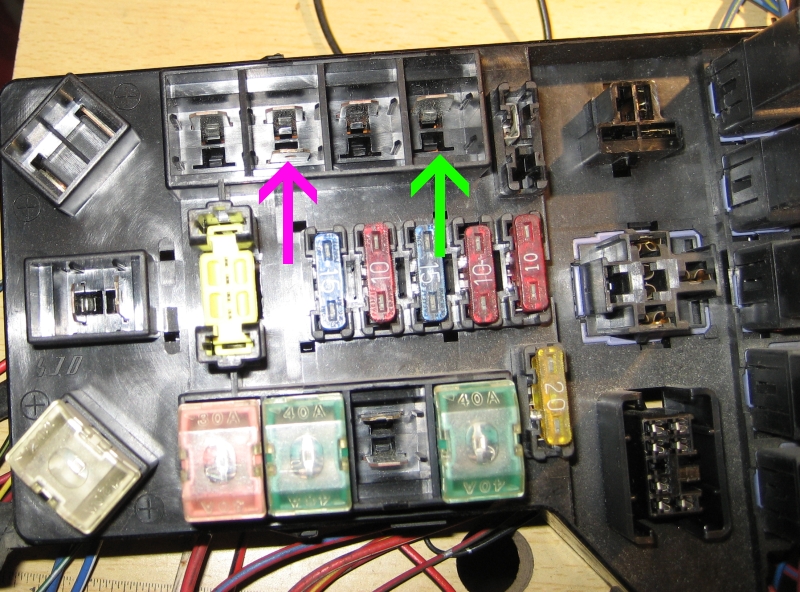
Open location won't have both terminals where a fuse would plug in. The purple arrow points to a circuit which has both spade terminals in place. The green arrow shows one of the open circuits and the terminal that is there has constant battery.
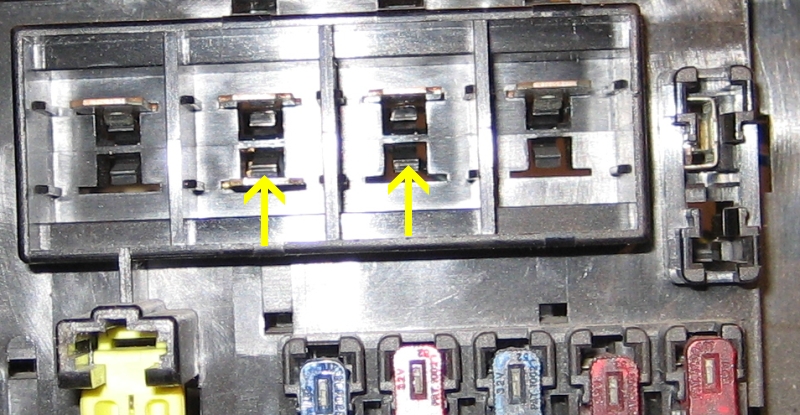
All you need to do is add a new spade terminal from underneath and pop in your desired fuse. It sounds easy but it will certainly take some time and effort. I didn't find a place to get these terminals in the aftermarket or mitsu so I was able to obtain a donor main junction box to rob the spade terminals.
If you are able to obtain a donor main junction box you will need to remove the spade terminal. Here is a picture of the underside of the junction box. You will notice the main battery bus bar pointed to by the green arrow. The purple arrow points to the spade terminal you will be removing. Before you can gain access to remove it, you must remove the plastic retainer bar as pointed to by the yellow arrow. This can be tricky without breaking it. There will be a few tabs to press before you can pry it out.

Once removed go to the topside and press down on the black lance locking the spade terminal in place. Put a flat screwdriver down on top of the lance close to the terminal then push/pry the tab in the direction of the arrow (away from the terminal). While you are pushing the lance, you can either push down on the terminal or pull the wire from behind.
Here is the spade terminal removed.
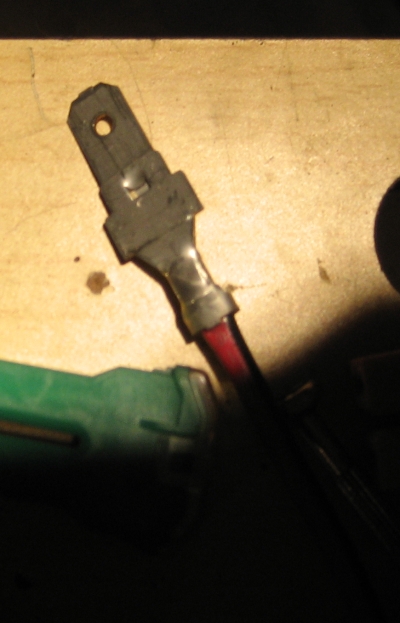
The wire is crimped down on it. Use some pliers/screwdrivers to pry it free. Get your choice of wire gauge size wire and soldier onto the terminal. This will be your new circuit wire.
Installation into the junction box on the car is a bit tricky. You cannot simply remove the box and flip it over so you will have to work in tight quarters. I do suggest obtaining a donor box so you have practice removing the plastic retainer. You will have to cut the electrical tape where the wires feed in so you can remove the cover from underneath. Once you have the cover and white plastic retainer you can push the terminal and new wire soldiered into an empty fuse location.
Here is a new circuit I installed (black electrical taped wire).
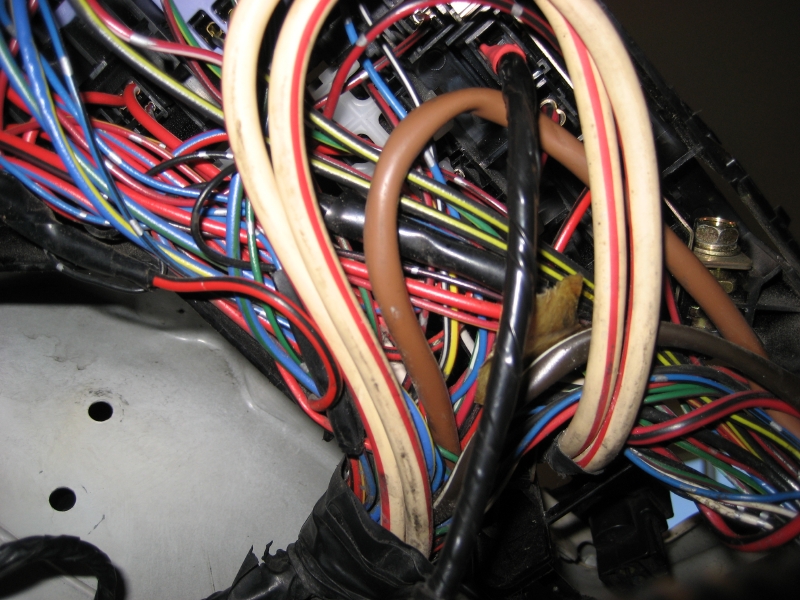
I had two open locations and used one to make my own accessory main power line which fed into a fuse box. The other I used as a new fuel pump power line. The best part of all is it's very clean and safe. No need to worry about melting fuse holders etc. You are of course limited by the gauge wire coming off the battery to the block and the block itself. I would not recommend using this add on circuit for high power applications IE stereo amps.
If you have any questions feel free to contact 'Toni' on 3si.
Warning: use this guide at your own risk. You should have some basic idea of how our 12v dc electrical system works.