Difference between revisions of "Steering: Rebuild Rack"
Jump to navigation
Jump to search
Stealthify (talk | contribs) (Created page with "Category:How To Category:Power Steering == 3000GT/Stealth AWD Front Power Steering Rack Rebuild Guide == #Remove power steering rack from car #Remove power steering l...") |
Stealthify (talk | contribs) m (Moved to Steering category) |
||
| Line 1: | Line 1: | ||
[[Category:How To]] | [[Category:How To]] | ||
| − | [[Category: | + | [[Category:Steering]] |
== 3000GT/Stealth AWD Front Power Steering Rack Rebuild Guide == | == 3000GT/Stealth AWD Front Power Steering Rack Rebuild Guide == | ||
Revision as of 04:50, September 4, 2012
3000GT/Stealth AWD Front Power Steering Rack Rebuild Guide[edit]
- Remove power steering rack from car
- Remove power steering lines
- Mark where tie rod end originally was placed for alignment purposes
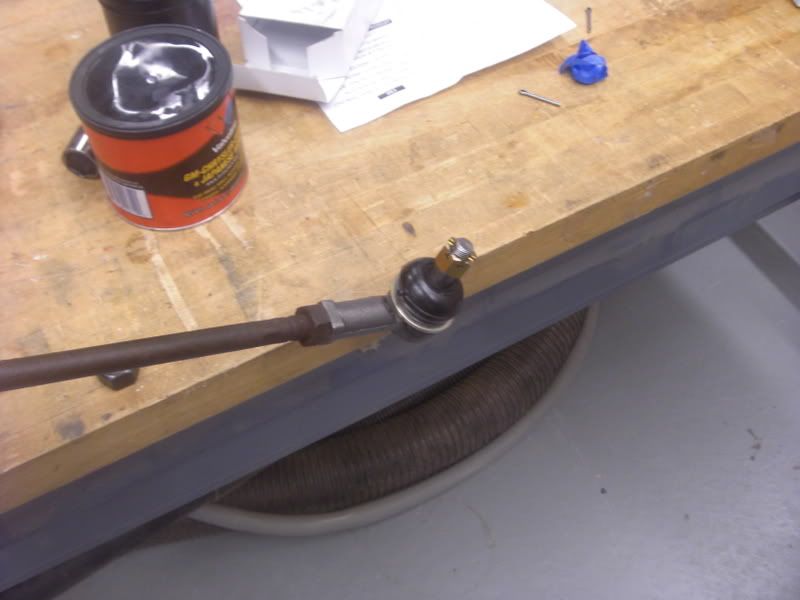
- Remove tie rod ends
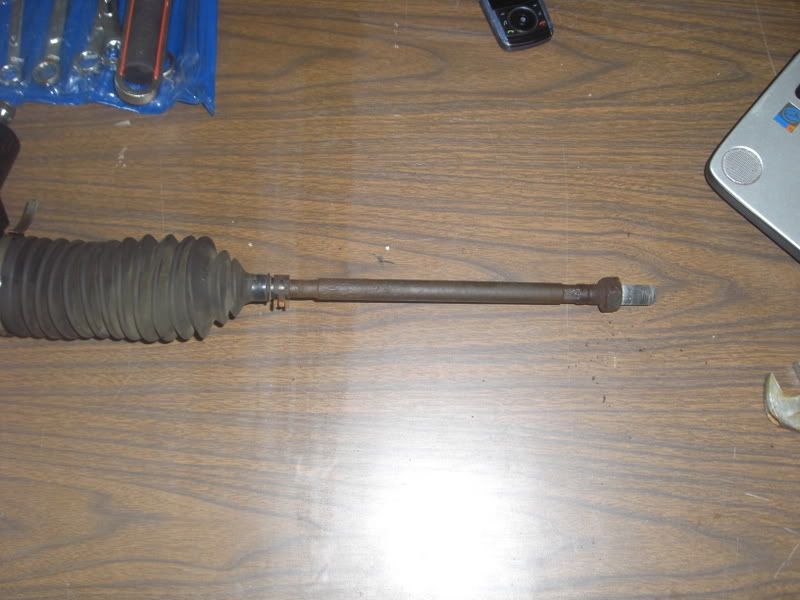
- I left the alignment nuts in place since I didn’t need to replace the steering rack boots. If your boots are torn, it’s a good idea to replace them and then you will need to remove the alignment nut to slide the boot off of the tie rod.
- Remove (or in my case, just move it out of the way) the boots from the tie rods
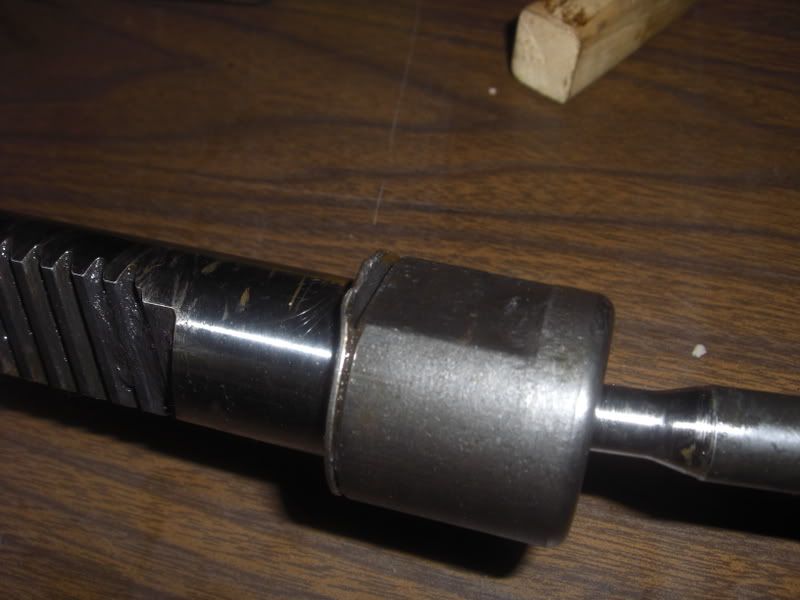
- Bend washer tabs up
- Unscrew both tie rods from rack
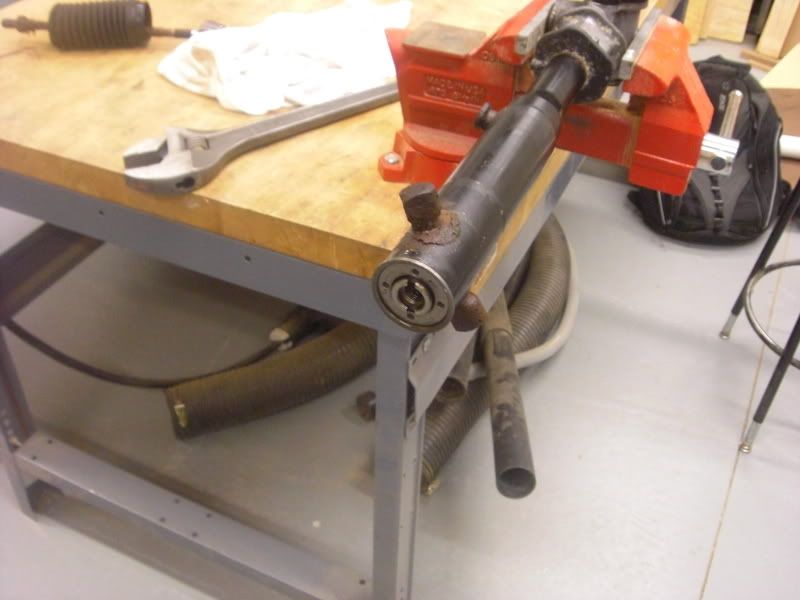
- Remove end plug
- Remove gearbox locknut (17mm)
- Remove gearbox mounting bolts (12mm). There was locktite applied by the factory so they may be tight.
- Remove gearbox
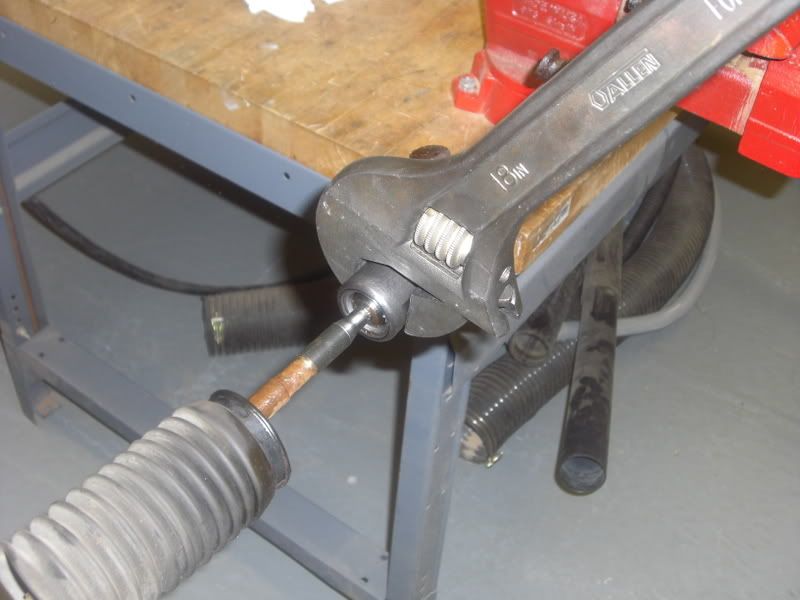
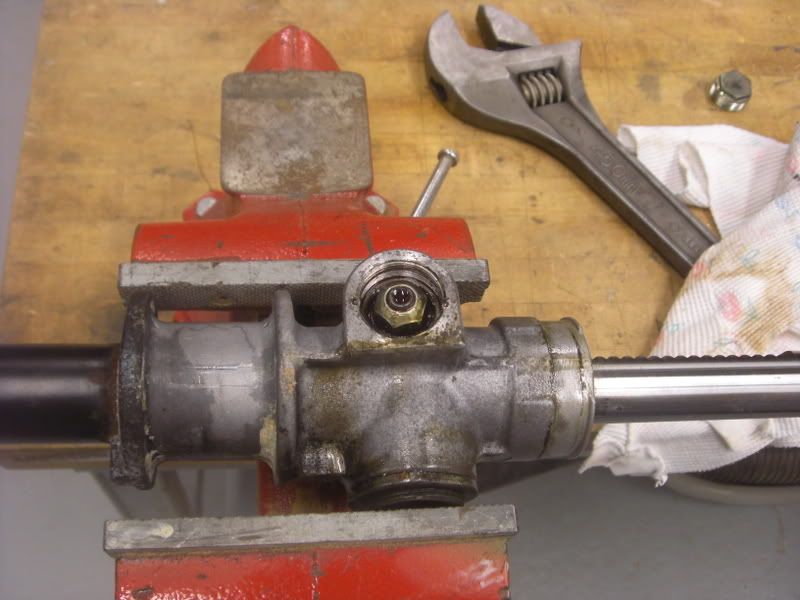
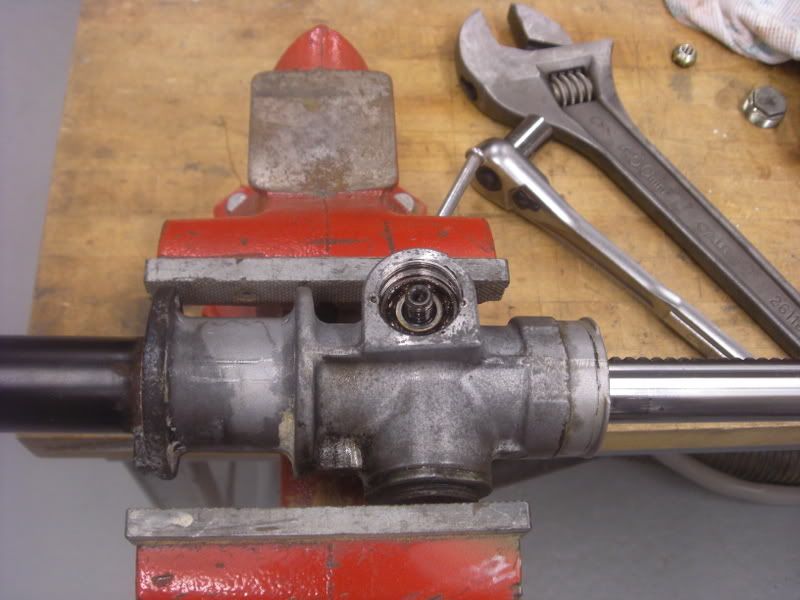
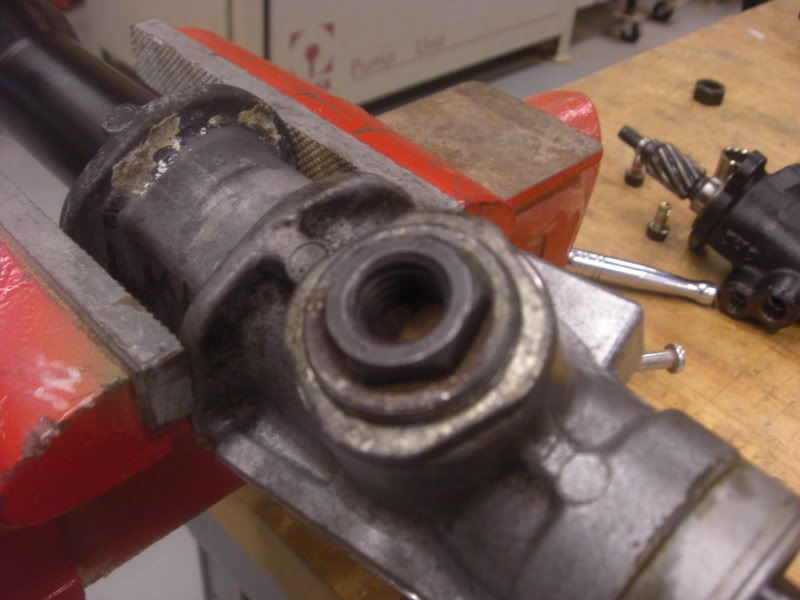
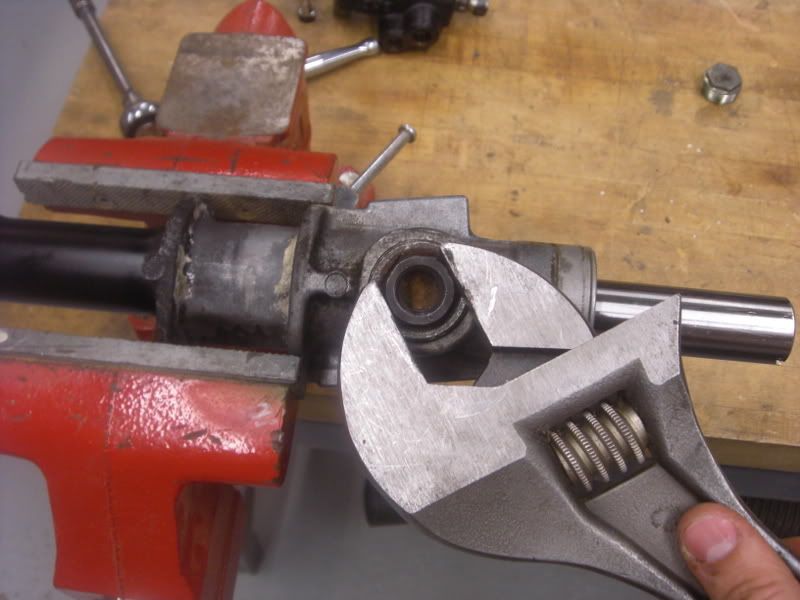
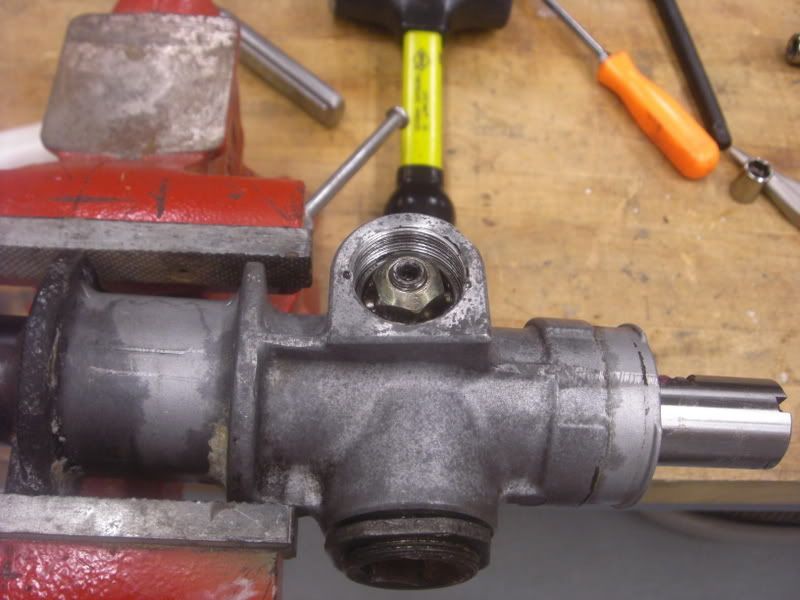
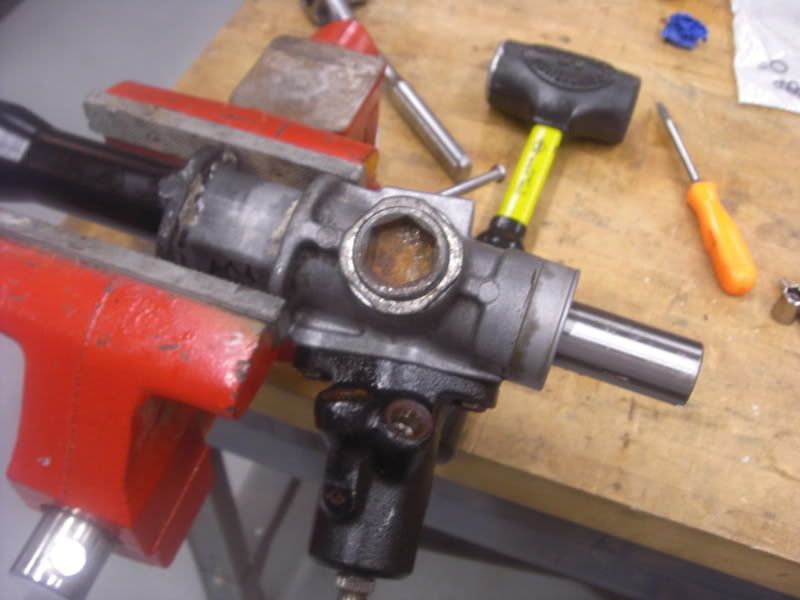
- Remove the rack support cover by inserting a 5/8” nut into the hex opening and unscrewing it with an adjustable wrench. This is an adjustment bolt on the rack so be sure you make note of how many threads are showing. Luckily, the entire assembly came out as one piece so I didn’t need to mark it. Also, be careful as there is a spring underneath this big bolt. Remove that and set it aside.
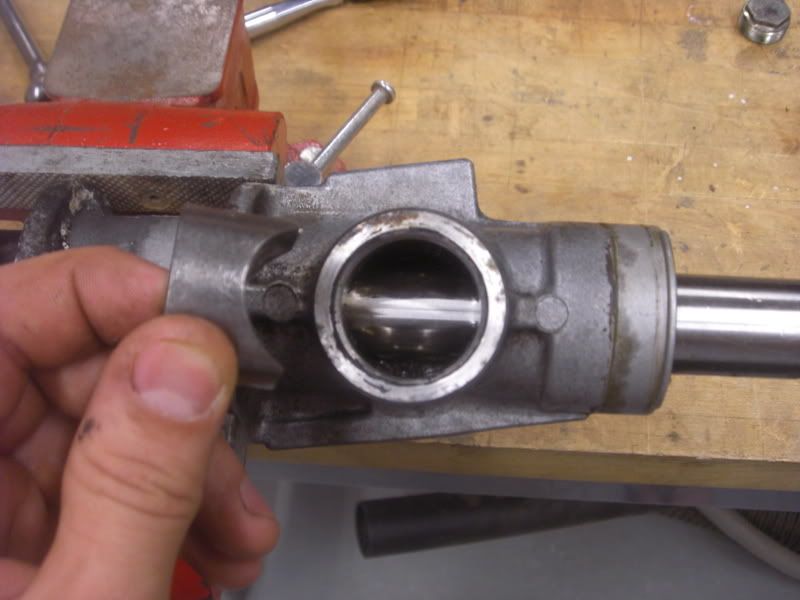
- Remove rack support
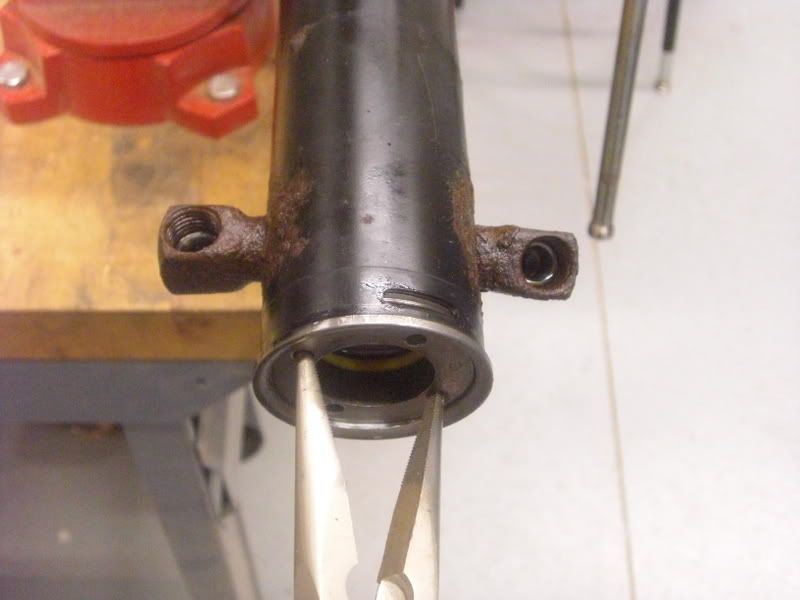
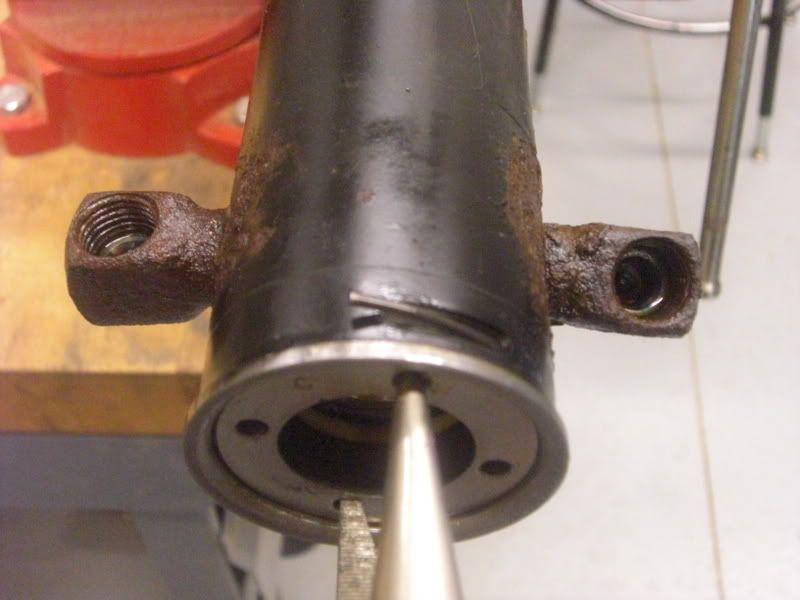
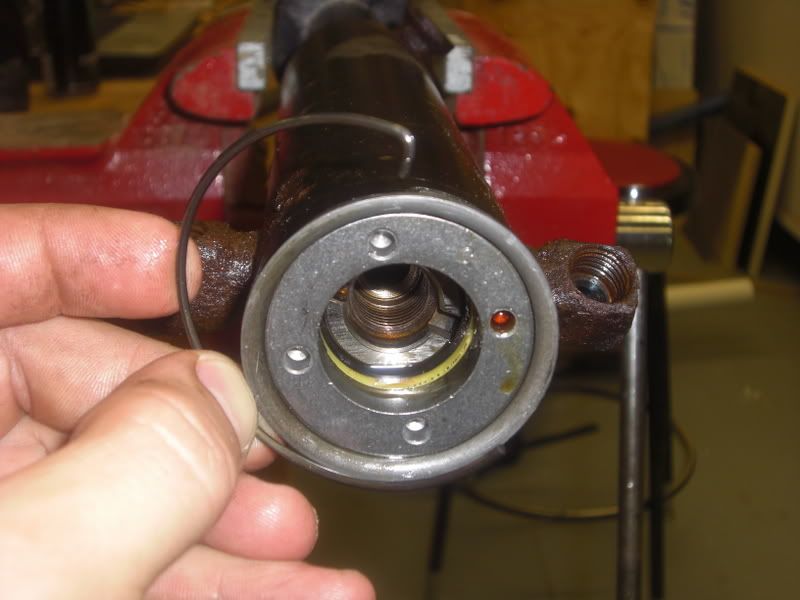
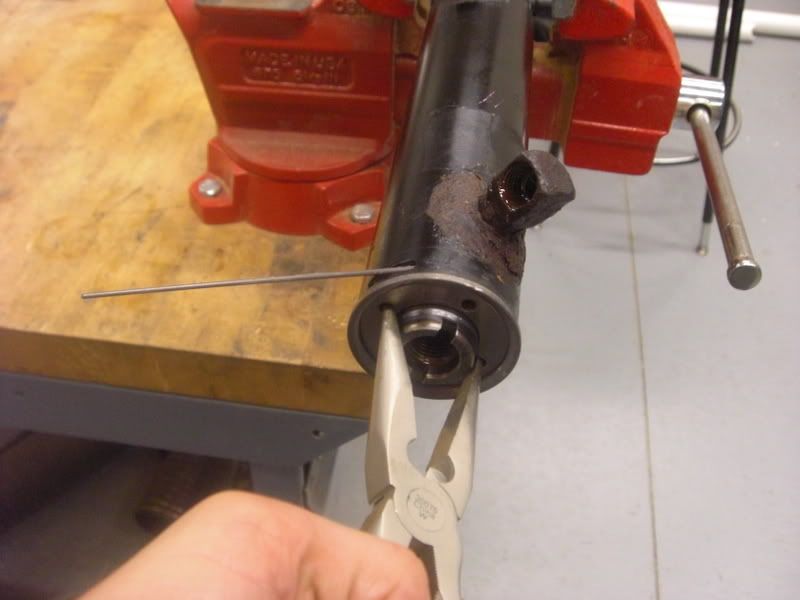
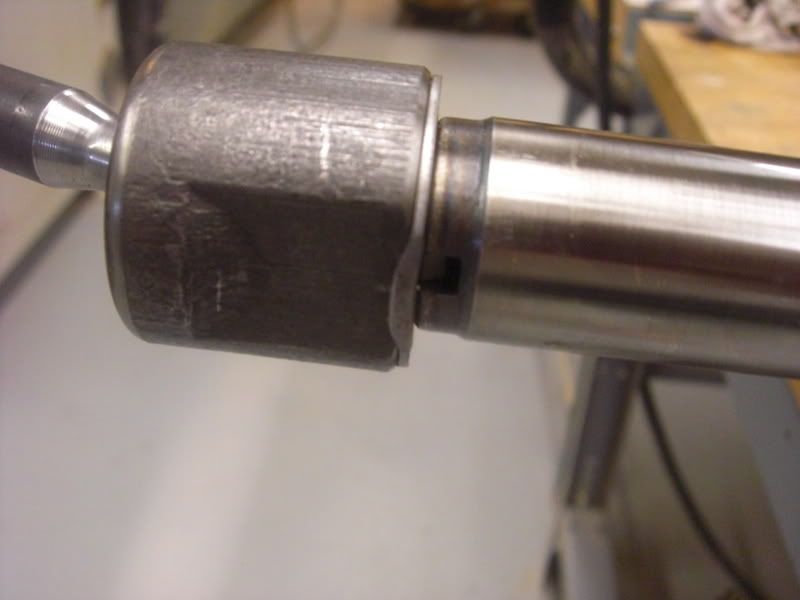
- Remove the circlip by inserting a pair of needle nose pliers into the rack stopper and turning it clockwise until the circlip pops out of the hole. Once the circlip is out of the hole, turn the needle nose pliers counter clockwise until the end of the circlip is exposed and can be removed by hand. Remove the rack stopper as well.
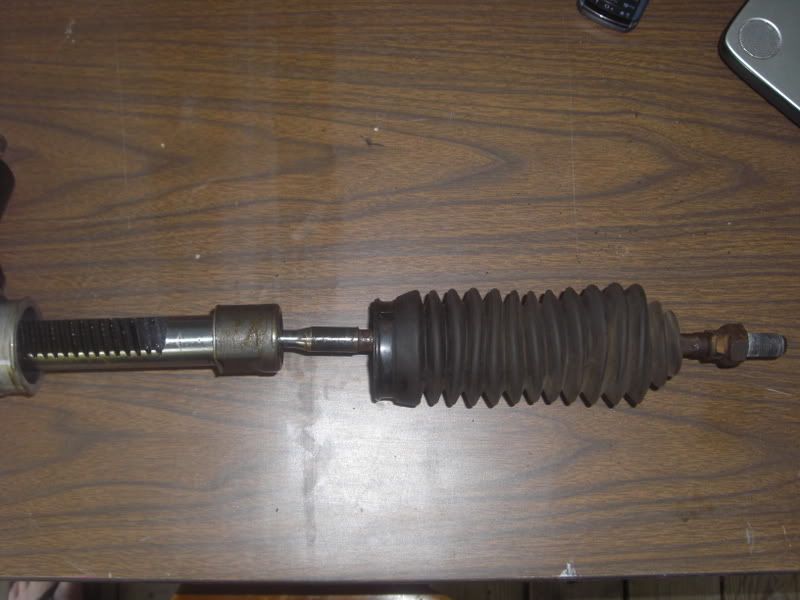
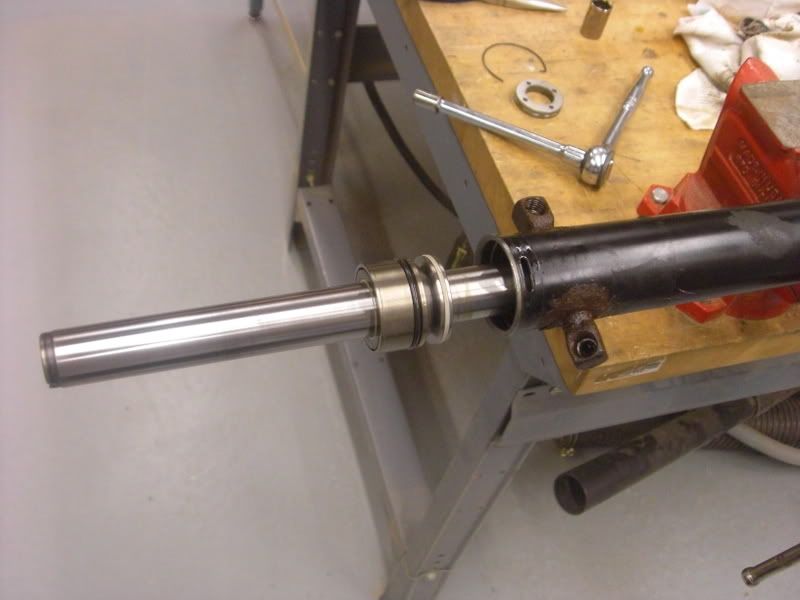
- Remove rack by pulling it out of the end where you just removed the stopper. It will require a little bit of force since there are a couple of o-rings that seal the rack to the housing.
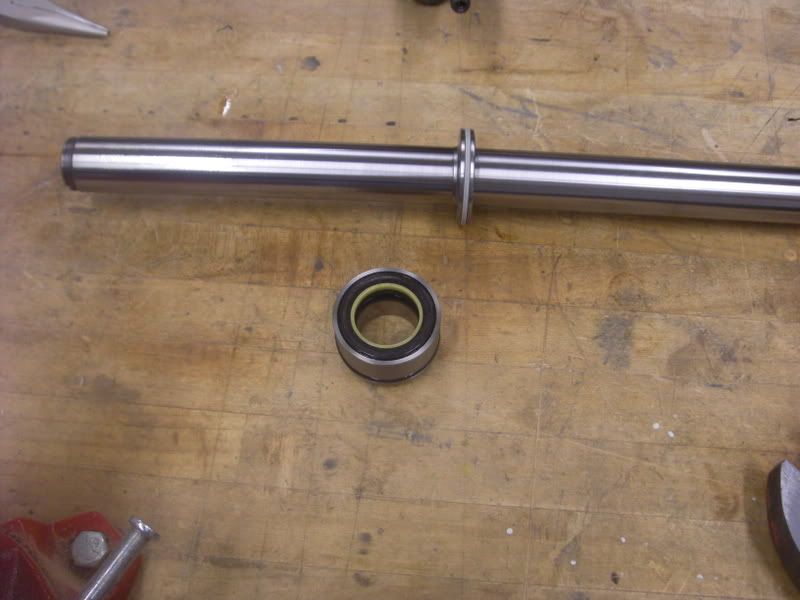
- Slide bushing off of rack.
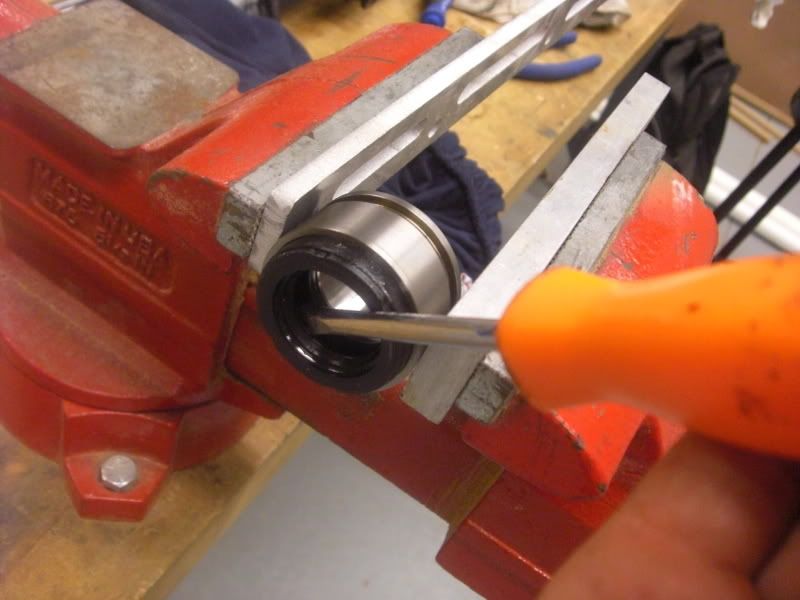
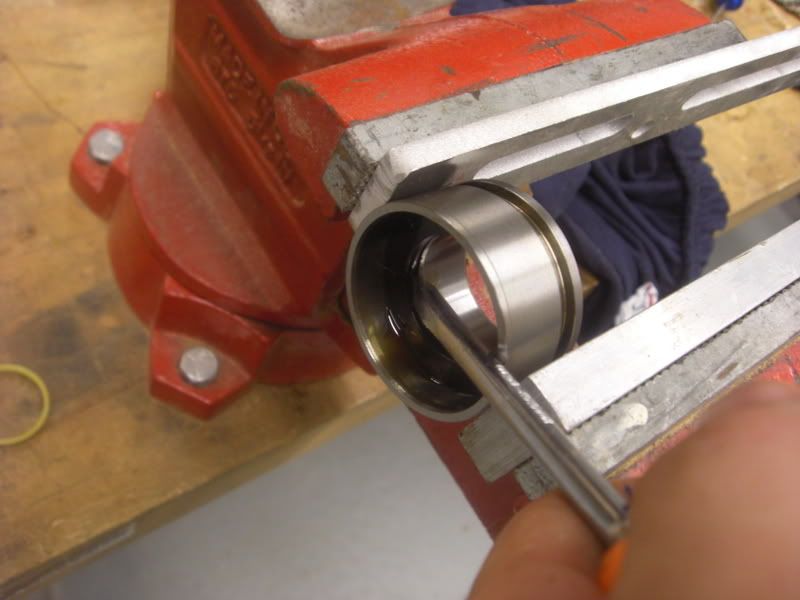
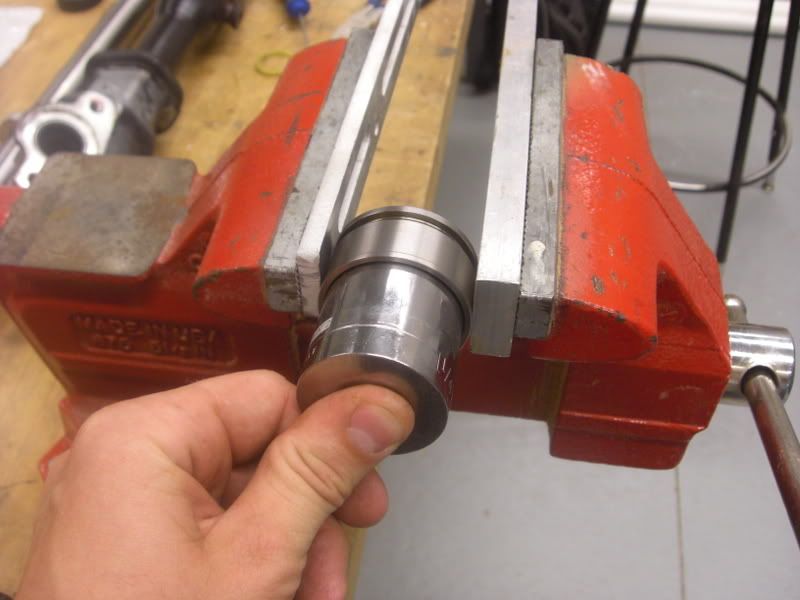
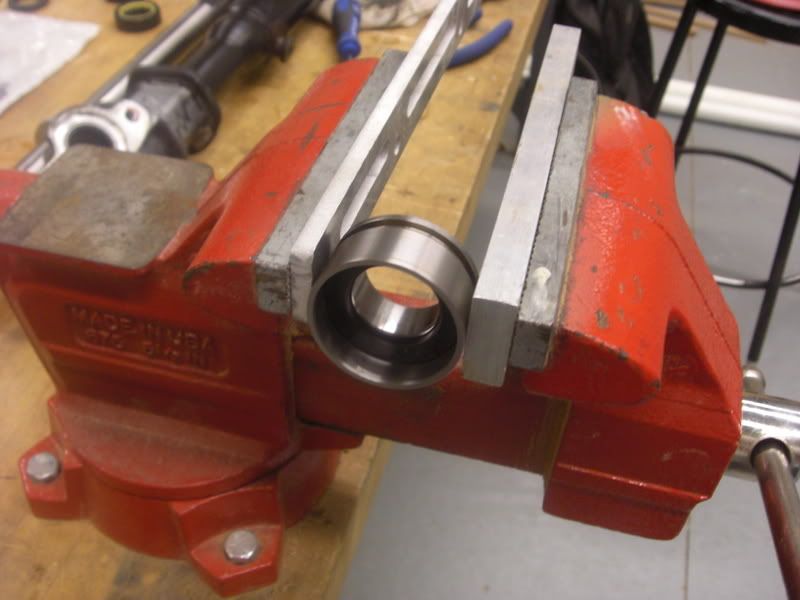
- Place bushing in vice and remove the outer and inner seal
- With the rack completely disassembled, it is now a good time to clean the housing up a little bit. There will probably be a lot of grease and power steering fluid left over.
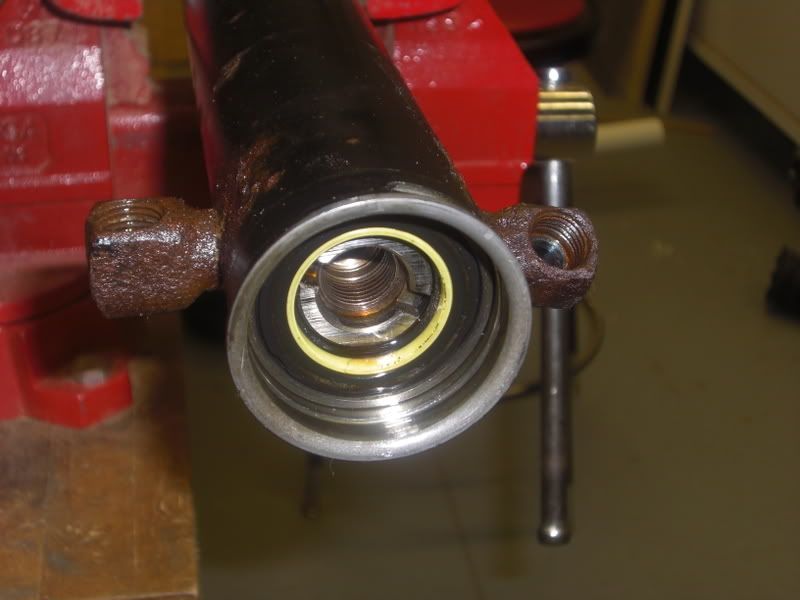
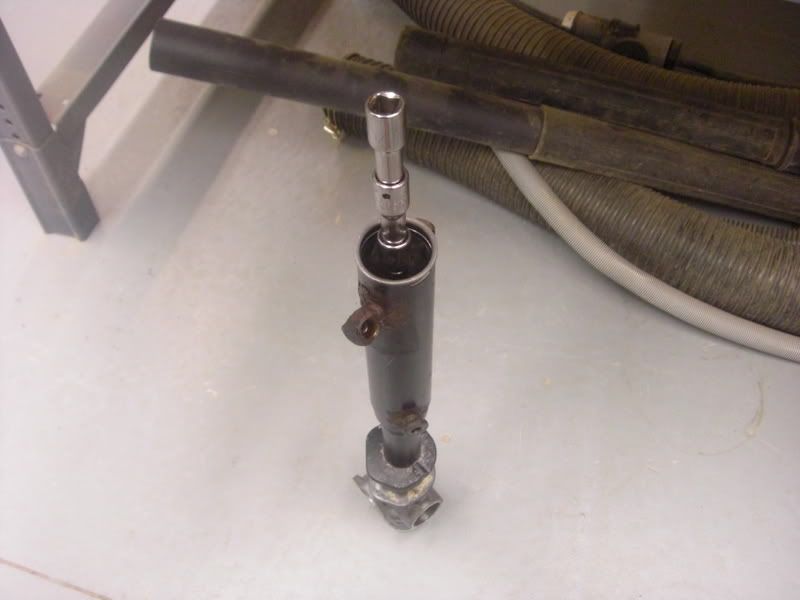
- This was probably the hardest part of the rebuild. Way inside the rack is an oil seal and backup washer. The service manual says to use a pipe to get it out, but even with the wide range of pipe sizes I have, I could not find one that would work. They were either too big and would not even fit in the rack housing or too small and would pass right through the oil seal. I wound up using a 3/8” drive 22mm socket with a bunch of long extensions. With the socket resting on the backup washer, I hammered on the end of the extension and got the oil seal out. As you can see, I kind of messed up the oil seal a bit trying out different sized pipes, but I’m replacing it anyway, so I’m not too worried.
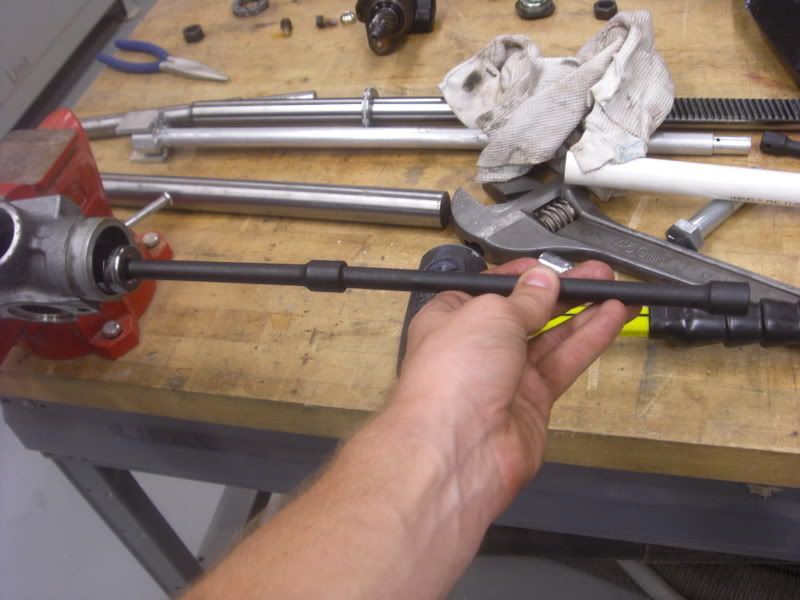
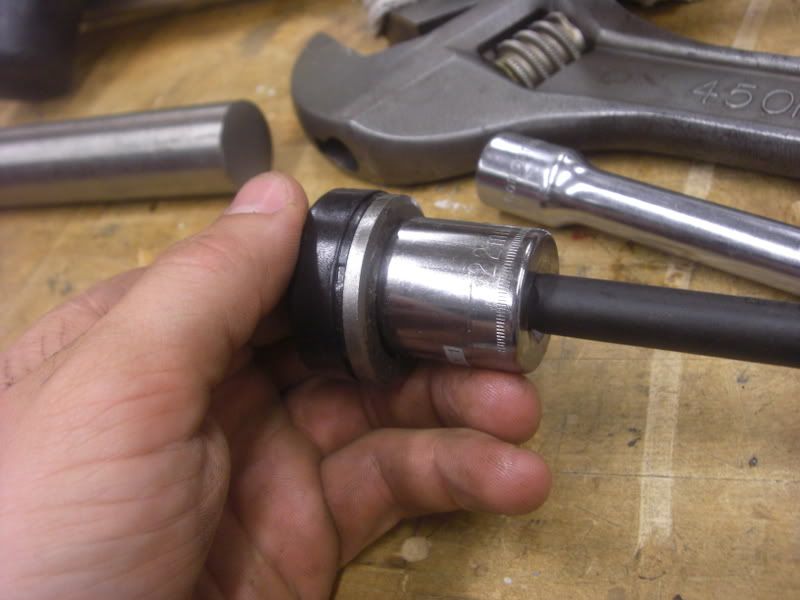
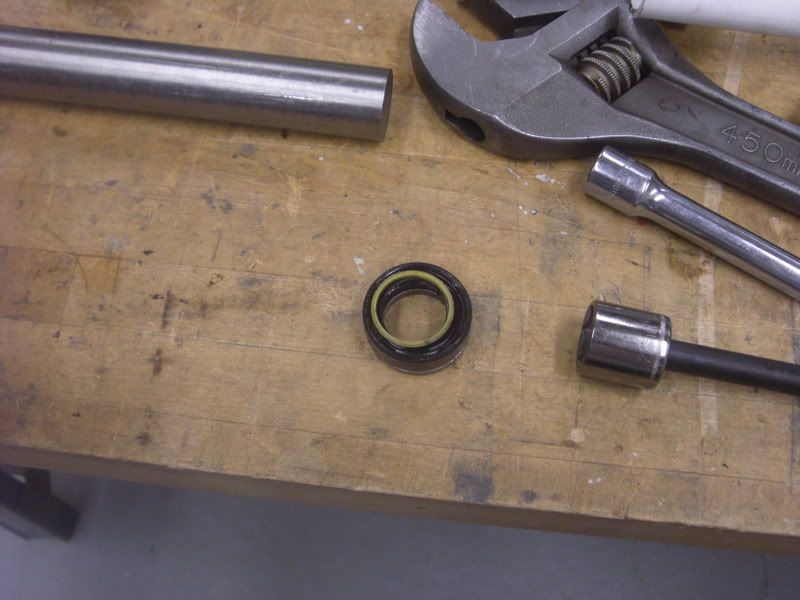
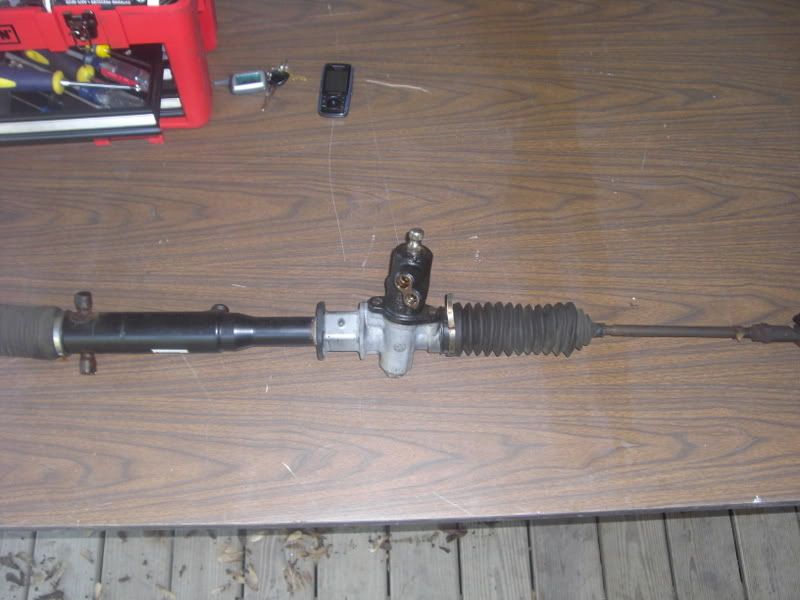
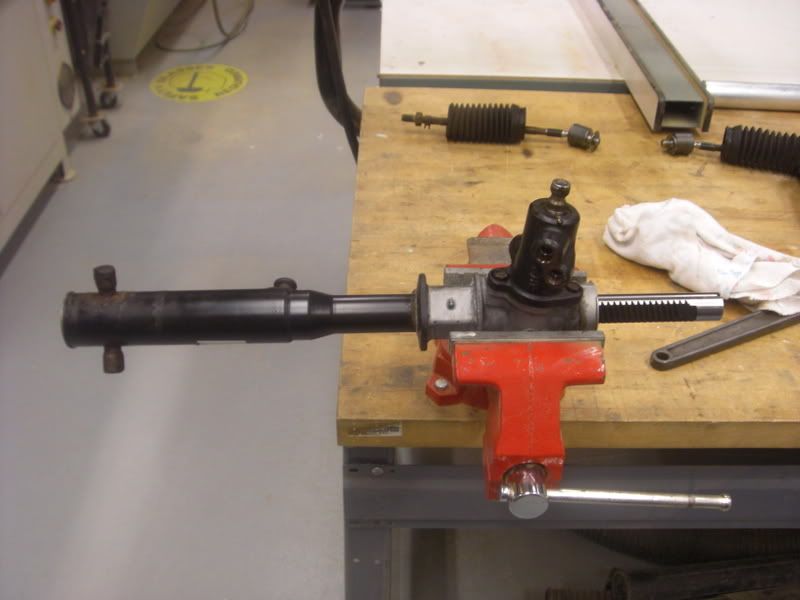
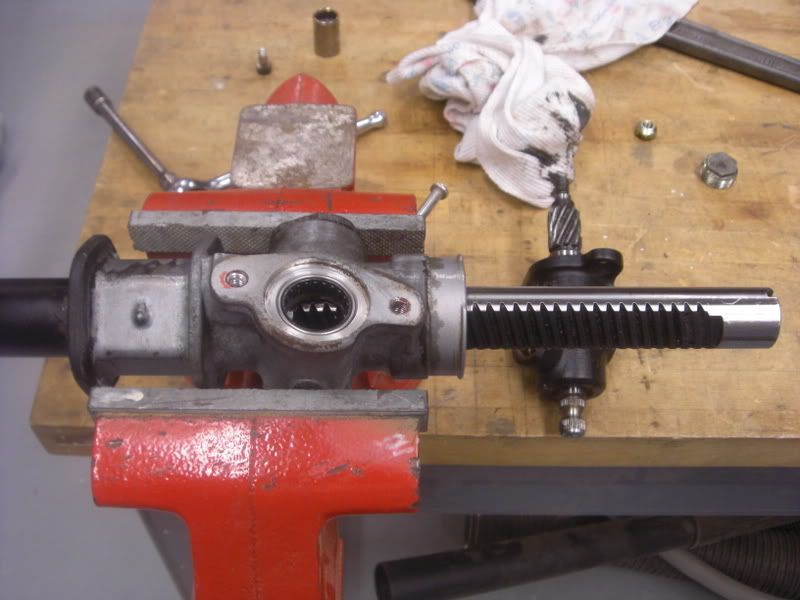
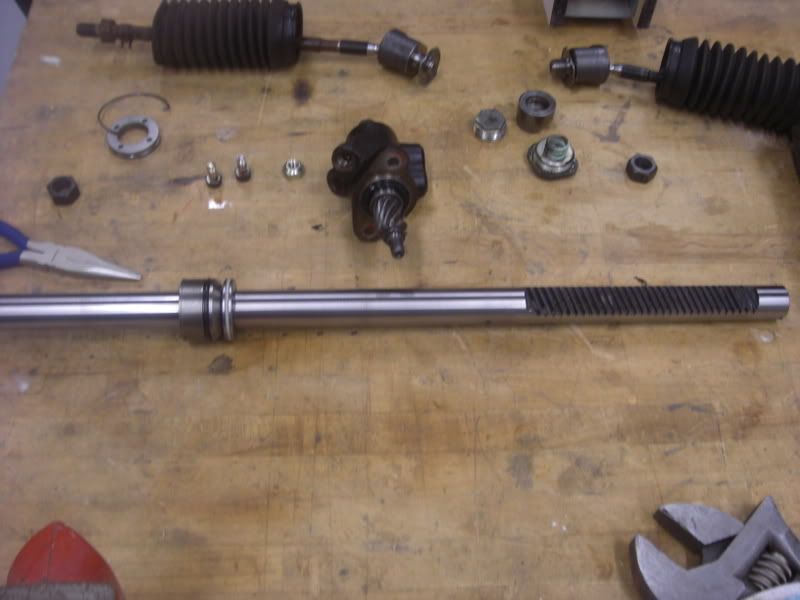
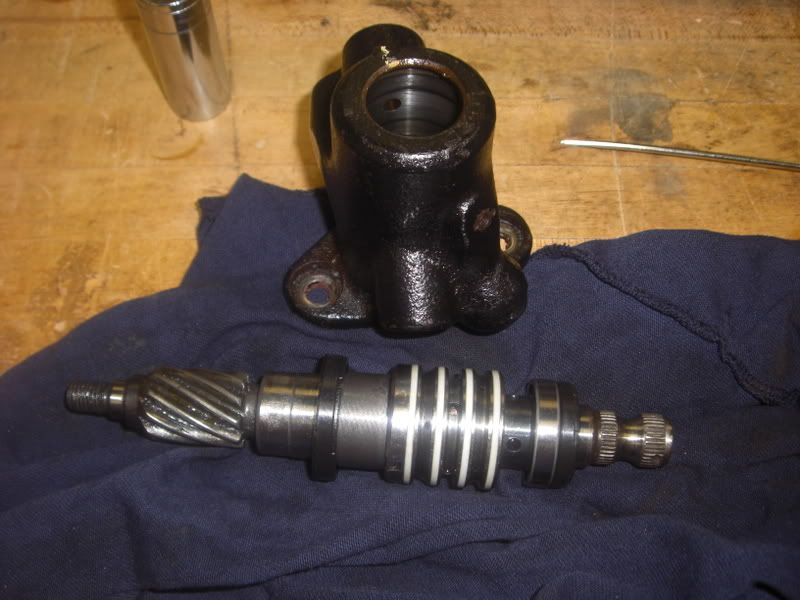
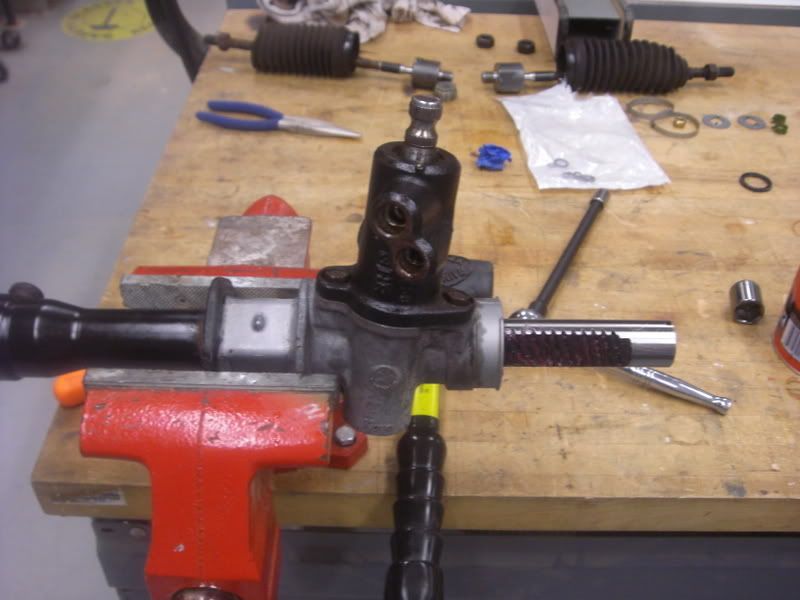
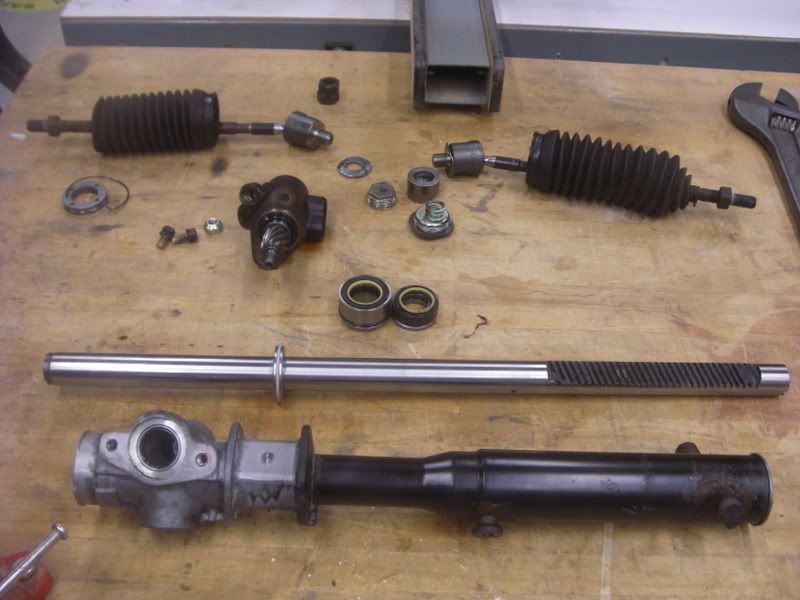
- Note: Here is a picture of the rack disassembled with all of the seals removed:
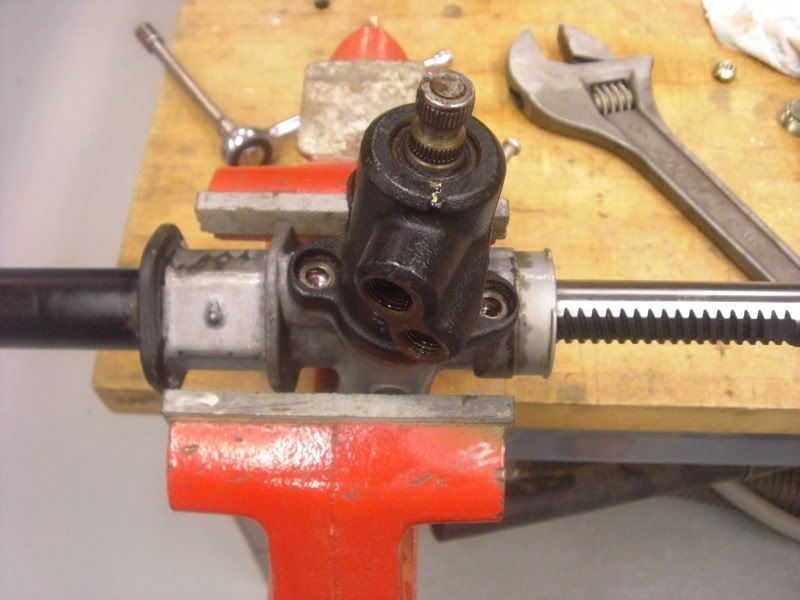
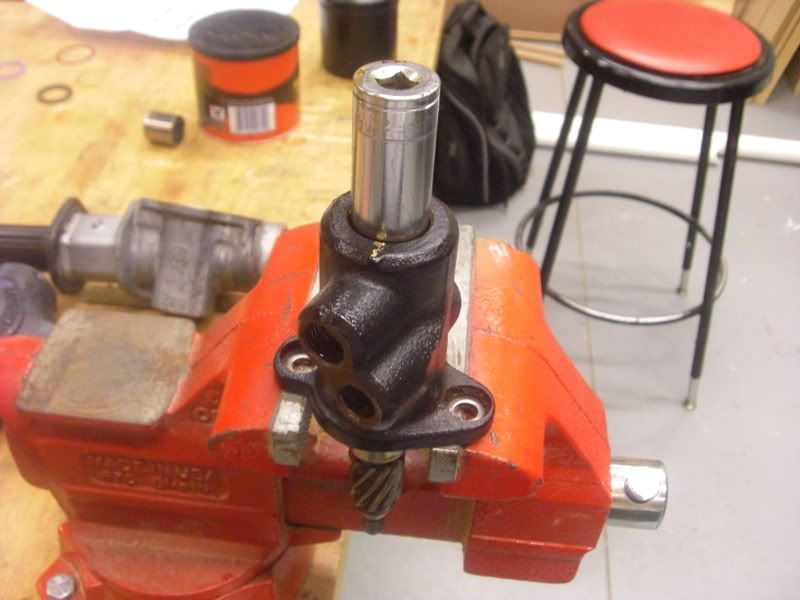
- Place the bottom of the rack gearbox on the two jaws of a vice. Place a ¾” deep socket over the splined end and beat the socket downward with a hammer to remove the pinion from the housing. Be sure to catch it as it falls out.
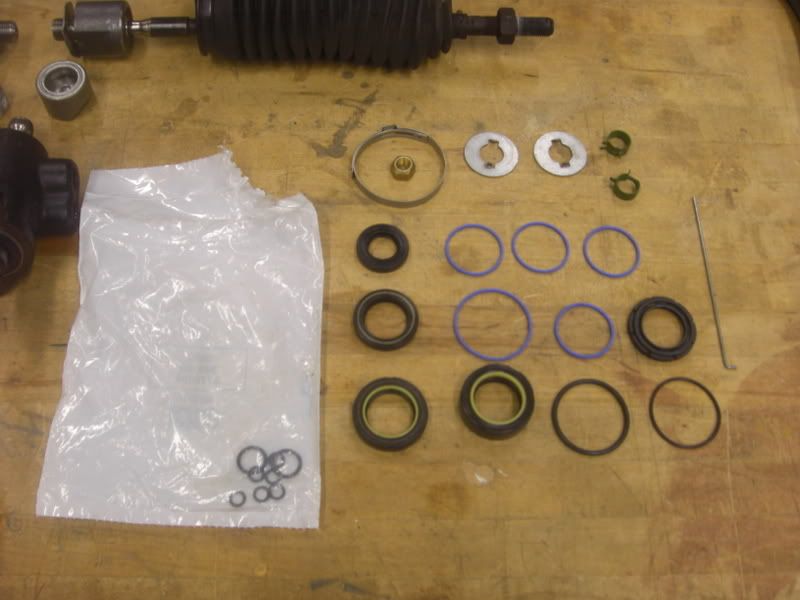
- I purchased a Duralast (part #8692) rack and pinion seal kit for $85.99 from AutoZone. This kit can also be bought from Mitsubishi (MB864176), but it was a special order for all of the dealerships that I called and Autozone could have it to me in 2 days.
- Remove all seals from pinion and install new ones
- Coat all new seals with power steering fluid and reinstall pinion back into housing
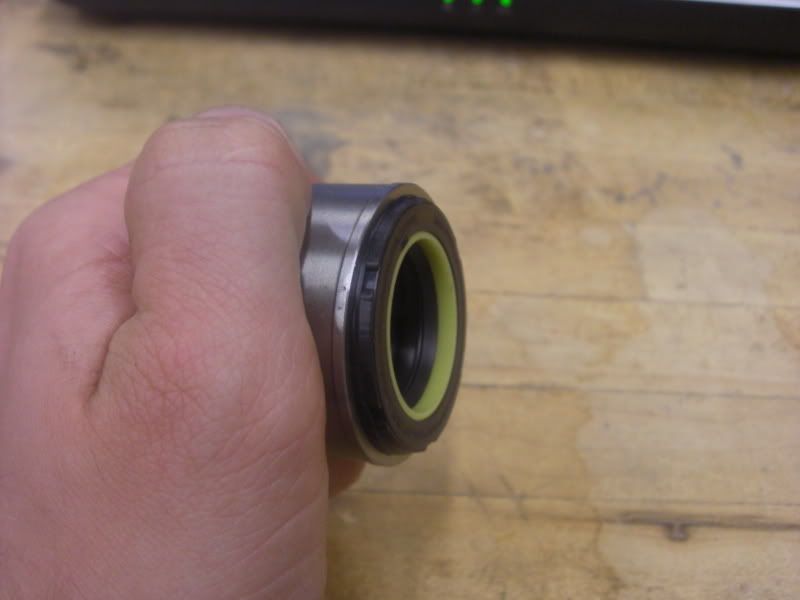
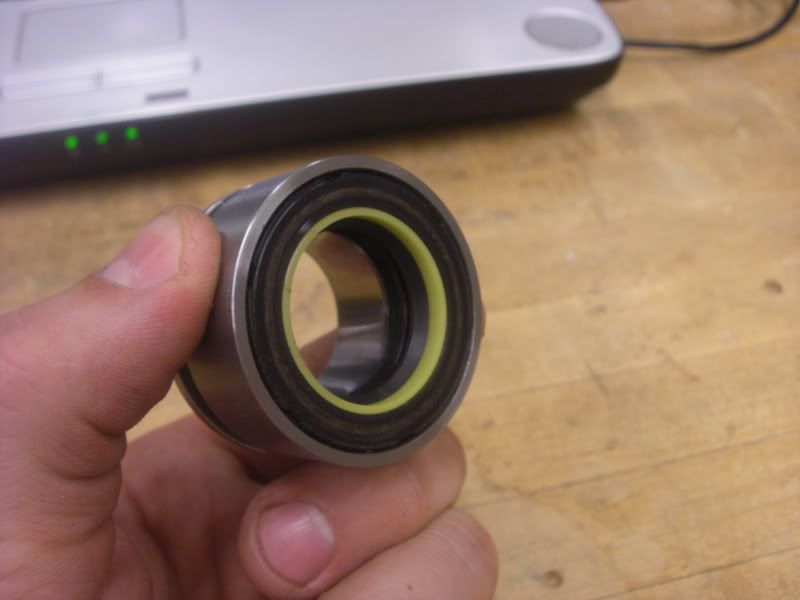
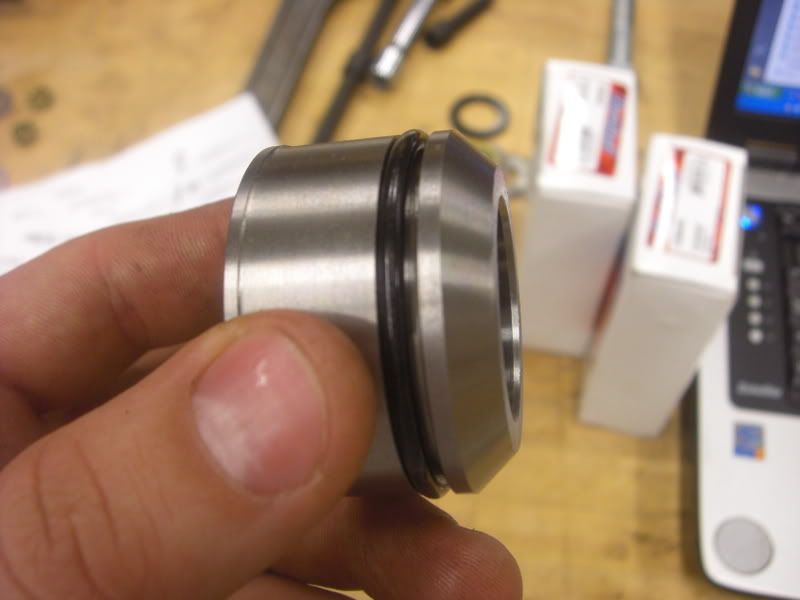
- Install inner seal in the rack bushing. I used an 1-1/4” socket to push it in.
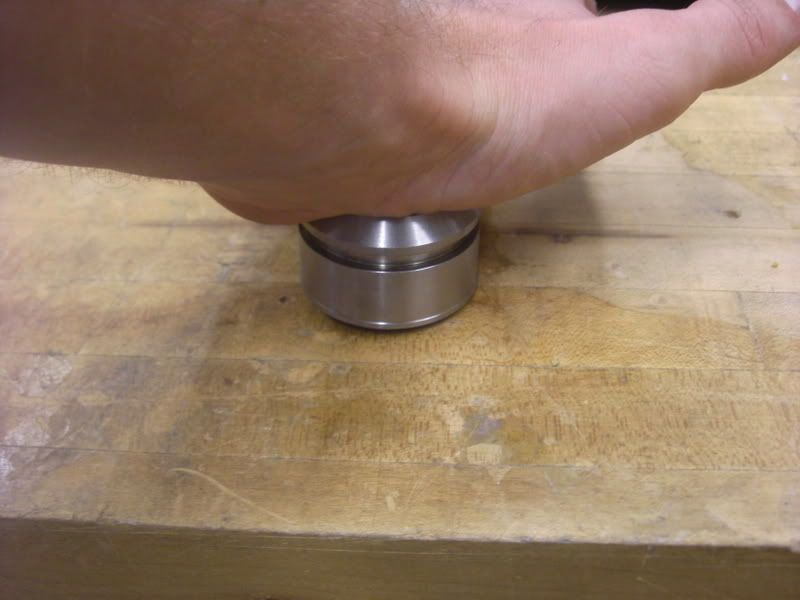
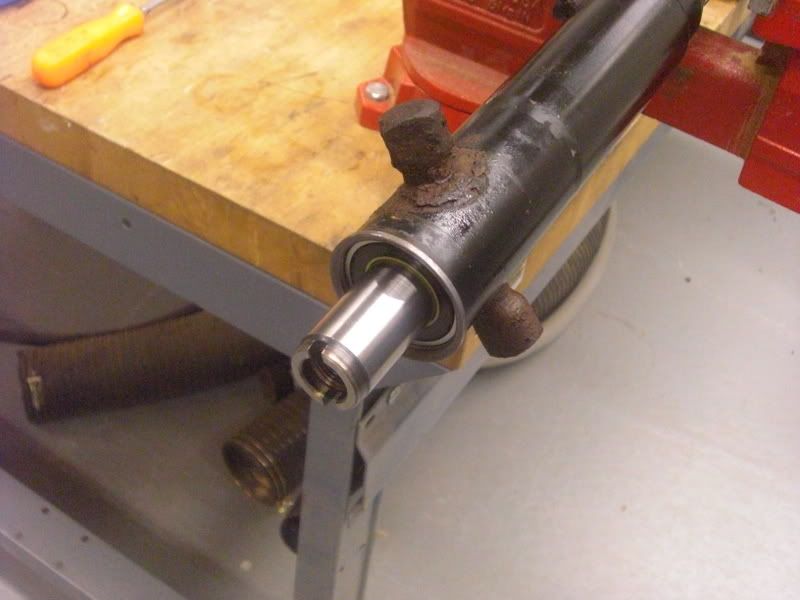
- Start the outer ring of the rack bushing by pushing it in by hand. I placed the bushing on a flat surface and pushed down to seat it further. I then used a brass hammer and lightly tapped the top of the bushing until the seal was flush.
- Install new o-ring on outside of bushing
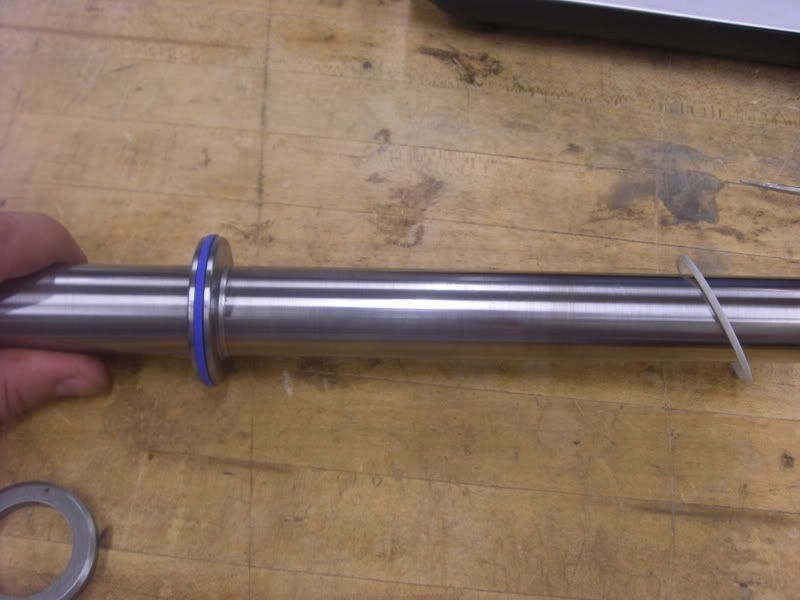
- Install new rack o-ring. There is also a black oring underneat the plastic ring. Don't forget to replace that.
- Place backup washer into the same side of the rack housing where it came out. Lube up the outside and inside of the rack seal and drop it inside so that the yellow ring faces outward. I used the 1-1/4” socket and a few ½” extensions as my “special” Mitsubishi installation tool. I carefully hit the end of the socket extensions with a brass hammer until the seal was seated. Be sure the driver tool is large enough to not ruin the seal when driving it down.
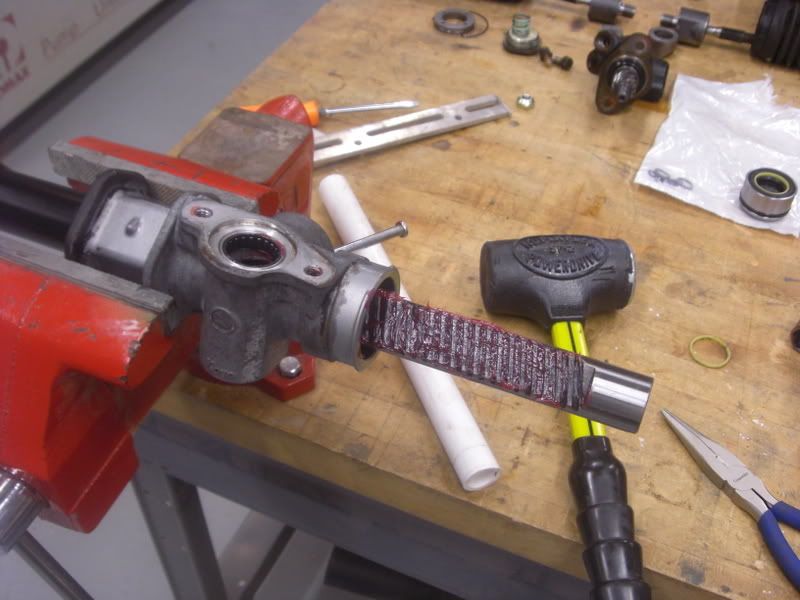
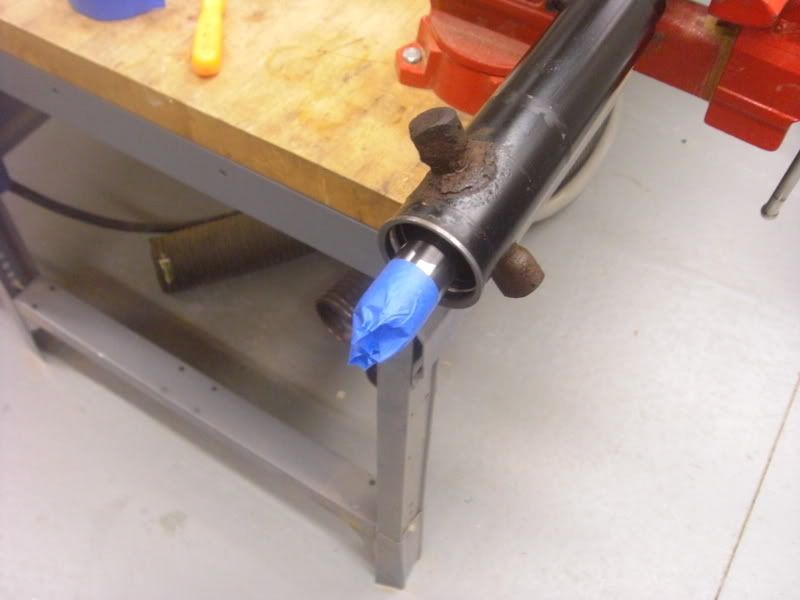
- Carefully insert the rack the same way you took it out. The manual mentions a sleeve to protect the seal from the cut teeth. It is a good idea to place something around the teeth like some tape. Slide the rack into the new seal very gently. You do not want to damage that and have to go through the same annoying process of removing that and installing a new one. Also you can not buy this seal separately from the kit. Once the rack is reinstalled into the housing, apply some grease to the rack teeth.
- Wrap some tape on the end of the steering rack. Mine had a decently sharp edge to it and I did not want to install the oil seal only to find out I cut it and would have to go through this process again.
- Apply power steering fluid to the inside of the rack bushing oil seal and the outside o-ring. Carefully slide the bushing over the rack and into the housing.
- Install rack stopper and new circlip by inserting it into the exposed hole and rotating clockwise
- Coat pinion gear with grease and reinstall back onto rack housing. I placed loctite back on the bolts since they had it when I removed them
- Reinstall pinion locknut and torque it to 18 ft-lbs. I didn’t use the new locknut that came with the kit since it looked oblong like it had been squashed.
- Using the 5/8” nut, reinstall the power steering rack support
- Move the rack back and forth by hand to make sure that it moves freely
- Apply thread sealant to the pinion cover and reinstall it. Torque it to 43 ft-lbs
- Install new lockwashers onto the tie rod ends and torque the tie rod ends to 65 ft-lbs. I wasn’t able to torque them to the exact spec since I used an adjustable wrench so I just made them tight! Bend the lockwasher tabs over the tie rod ends after they are tight.
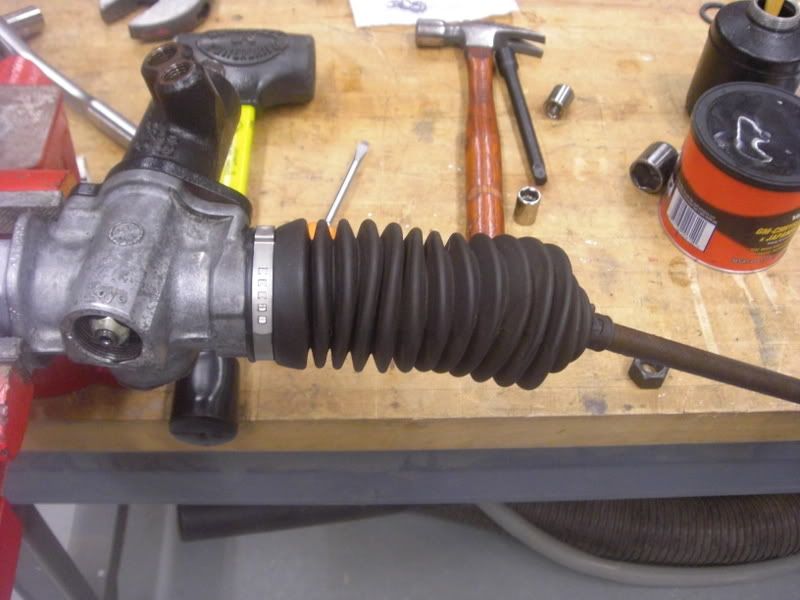
- Install tie rod boots and new clamp
- Reinstall tie rod ends
- Reinstall rack lines using new o-rings
- Reinstall rack on car
- Cross fingers it doesn’t leak!
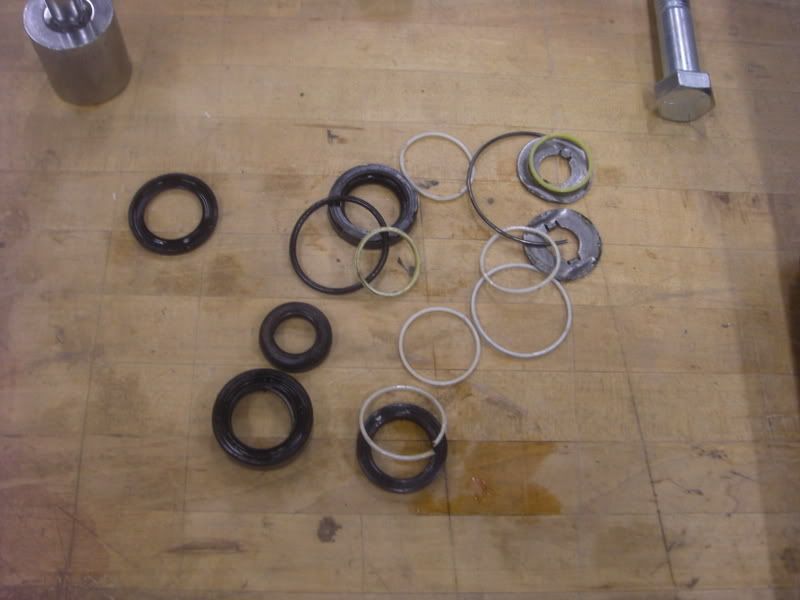
I had a couple of extra o-rings and seals after I was all said and done. I have no idea where these could possibly go and I looked everywhere on the rack, pinion, and housing to figure out if I missed something. I'm guessing this might be a universal kit between the AWD and FWD vehicles and the FWD rack may have an extra seal or two? Anyway, here's a picture of the extra o-ring and seal:
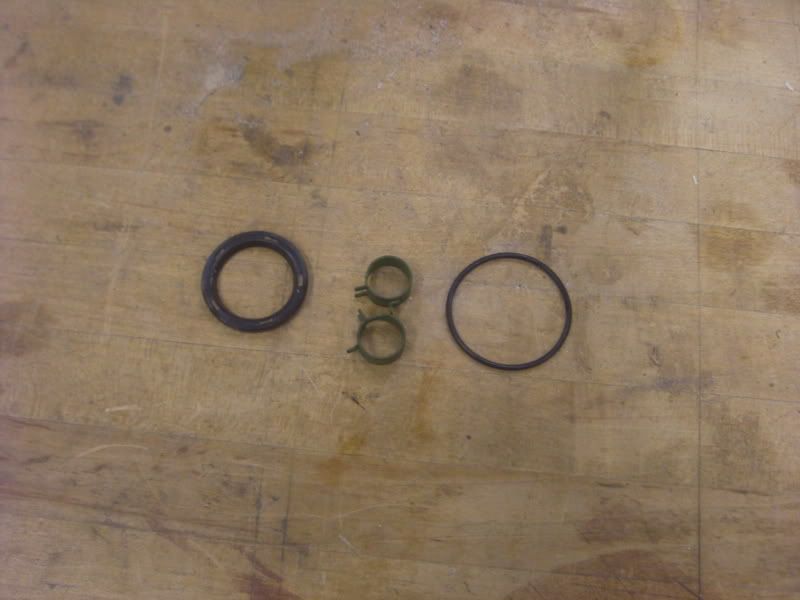
Here is a picture of the old seals and o-rings that were removed from the rack and pinion:
